Optical Illusions with AI. Get started with this user friendly online tool
Optical Illusions with AI. Get started with this user friendly online tool
By far the most user friendly online tool I found. Get started creating optical illusions for free.


Optical illusions, squint images, hidden image, hidden text, there are many names for these types of images that have been a trend recently. I’ve made a tutorial before but I'm happy to tell you about a new method I found online because it’s so ridiculously easy to use with no setup required. And still you have a full control of what you’re making with the full power of Stable Diffusion behind the scenes. Plus you just sign up and get enough free image credits to really try it out. What’s not to like. Sign up now at the getimg website.

The steps involved in creating the illusion
To create the illusion you need to upload a black and white or greyscale image, that is to be your hidden image / hidden text. Then you write a prompt and adjust some settings. Afterwards you can fix details and upscale. And boom there you have it. Simple as that. I’ll walk you through it now.
Prepare the hidden image/message
Here are some examples of the kind of images you can use as the hidden image. Feel free to right click and download them to use as a test or find/create your own.
When you prepare the image make sure it has the same format (width to height ratio) as the image you want to create. Make sure the image is relatively simple and recognisable when viewed from a distance / viewed at small size. Keep the image black and white (or greyscale ay also work).
Example images


Generate the optical illusion
Now it’s time to go to the getimg website.
Sign up and go to the AI Generator (top menu).
Once in you’ll see this panel:
1. Generate options

First up you select a model by clicking and browsing through the available models. Just make sure it’s NOT a model marked XL. Feel free to experiment with different looks.
Then in the prompt, you describe your image in as much detail as you’d like. But DON’t describe the hidden image/text. Only the other parts of the image, the parts you see when you look at the image close up, like a landscape or a city with many houses or a litter of puppies.
In the negative prompt you write what you don’t want to see. Leave it as it is for now and go back to it if you experience unwanted details in your image.
Then Go to the Image section and fold it out
2. Image options

Upload the image you prepared. If the control image is not the same as the output image size (which you select in the next step) you have two options. One is to stretch / squeeze your control image to fit. For that you leave the crop center to fit option unchecked. If you check crop center to fit, well then the control image will be cropped.
Then you select the control net model, and here you choose QR Code Monster v2. (Yes you can also generate working QR codes with this technique 😳)
The Controlnet Strength sets how subtle or visible the hidden image will be. I went for a value close to 1 for the ‘hope’ image. But if you want a more subtle effect you could turn it don to around 0.5.
3. Resolution options
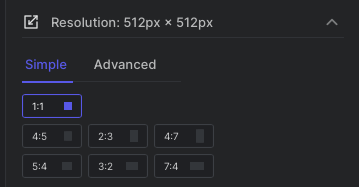
Then you select the output image format. The numbers indicate the ratio between width and height, so 1:1 is square and you can see small icons that indicate the shape of the output. If you need to set a specific pixel size you can do so in advanced, but be aware that the model was trained on 512x512 pixel images so it may behave strange if you deviate too much from that.
4. Generation parameters

You can set the number of images to generate and leave the steps and guidance as is.
That’s all you need to do for now. Time to see the result
5. Generate

Hope you got some cool images, otherwise adjust your settings and try again.
Fix details if needed
Once you have an image you like you may find that some details don’t look quite right. In my experience the model struggles a bit with faces, like on the ‘hope’ image above. Fortunately you can fix up your image afterwards.
6. Download the image
First go to the gallery which you find by clicking your name in the top right corner. Then mouse over an image and select to download the image to your drive.
7. Fix faces or other details
Go to the image editor in the top menu. Upload the image you want to fix.
Draw over the parts you want to fix - you don’t need to be terribly accurate.


Then an important step is to select a good model for the task. Unfold the very small advanced options icon in the right side.

I found the Stable Diffusion XL works good. Set the number of fixed images and you can leave the rest of the options.

Then in the left side of the screen write a prompt for what the image editor should put in the masked areas. Like hand or faces of young women or some big trees. If you have multiple different fixes that should be made inpaint them one at a time.
Try with the default strength or turn it up to replace the old details completely. Turn it down to do a more subtle fix. Then hit Inpaint.
Upscale your image
Hopefully you now have an image you’re satisfied with. you can now go to the gallery, mouse over the image and select to upscale it x4, and then you can find it in the Enhanced tab of the Gallery.

That’s it for the Optical Illusions tutorial. Let me know how it goes.
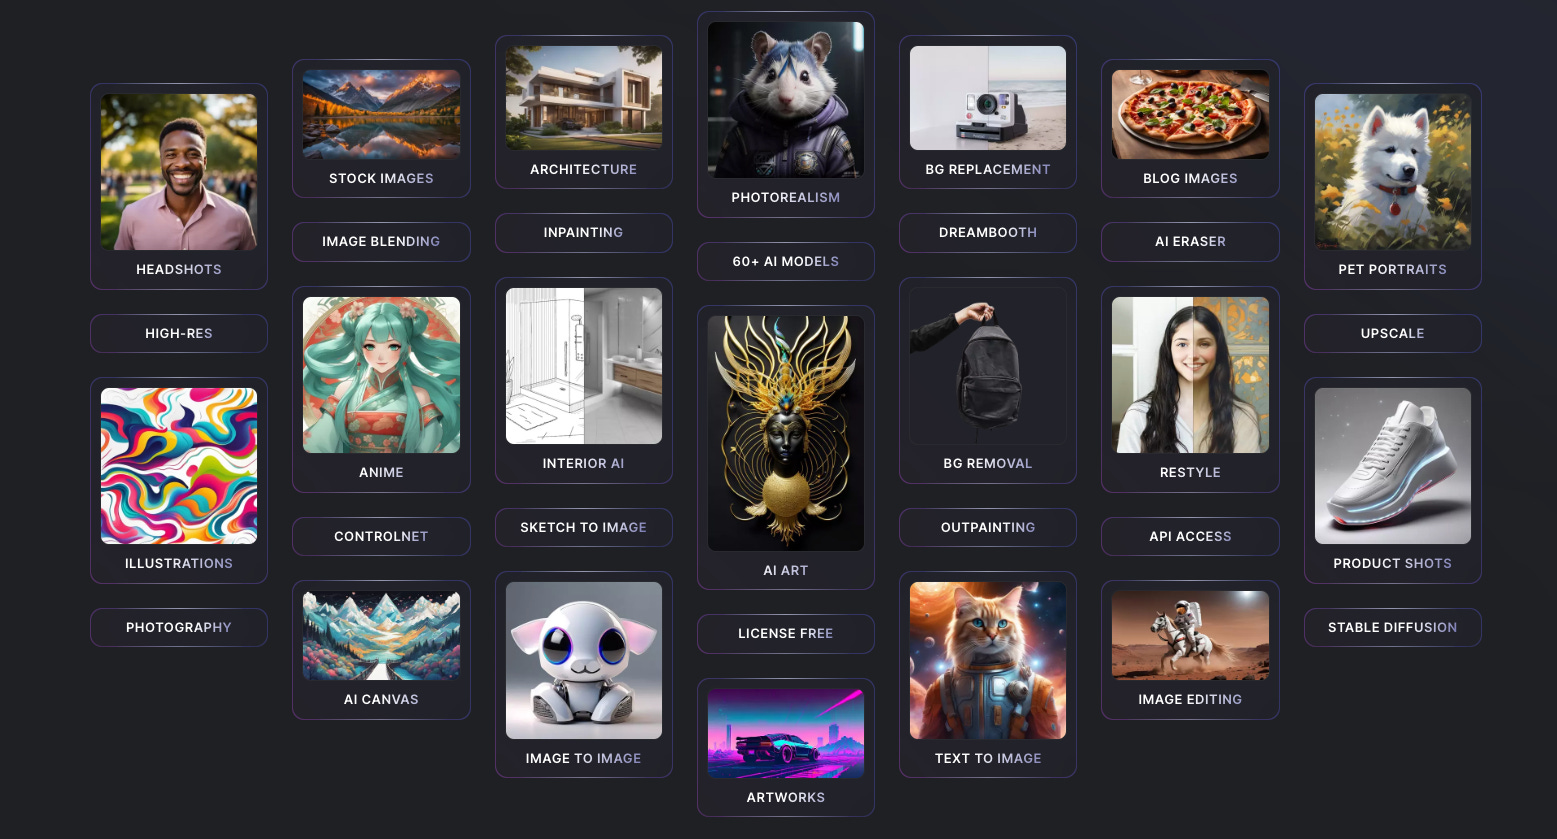
getimg.ai has so many great features …
… it’s really worth checking out their subscription plans
Not only can you generate images with lots of great models.
You can also edit your photos with AI. You know your non AI selfies 😉
You can extend your images to how new details outside the frame
You can replace backgrounds
You can convert a sketch to an image
You can train the AI with a custom model - of your face for instance